Start here
Below are the instructions on how to get started with BricksExtras and activate the elements & features you want to use in your project.
Requirements: PHP 8 or higher. Bricks Theme active (v1.5+)
Install BricksExtras just like a regular WordPress plugin. In your WordPress admin panel, go to Plugins -> Add New -> Upload, and upload the .zip file for BricksExtras. Then, activate the plugin.
Enabling the Functionality
BricksExtras is modular, so each feature can be enabled/disabled individually from the settings page found at Dashboard > Bricks > BricksExtras.
- Elements – All the available Bricks elements.
- Conditions – All the available element conditions
- Misc – Additional Query loop features, Interactions & builder modes are available here.

Note that there’s no performance cost to your site by having all elements active, it’s just for convenience to be able to enable/disable just those you’re using in your project. Everything is loading conditionally by default on the front end, if you don’t use an element it doesn’t add anything to the page.
Enter Your Licence Key
Enter your license key via the License tab. Bricks → BricksExtras → License. You can find your license key from your purchase history page. This will registered your site as licensed on your account and will ensure you can receive updates.

See the licensing page for more information.
Locating the Enabled Elements
There’s no additional UIs with BricksExtras, everything is integrated within Bricks existing UI.
The new enabled elements can be found in the + panel inside Bricks Builder under the Extras tab.
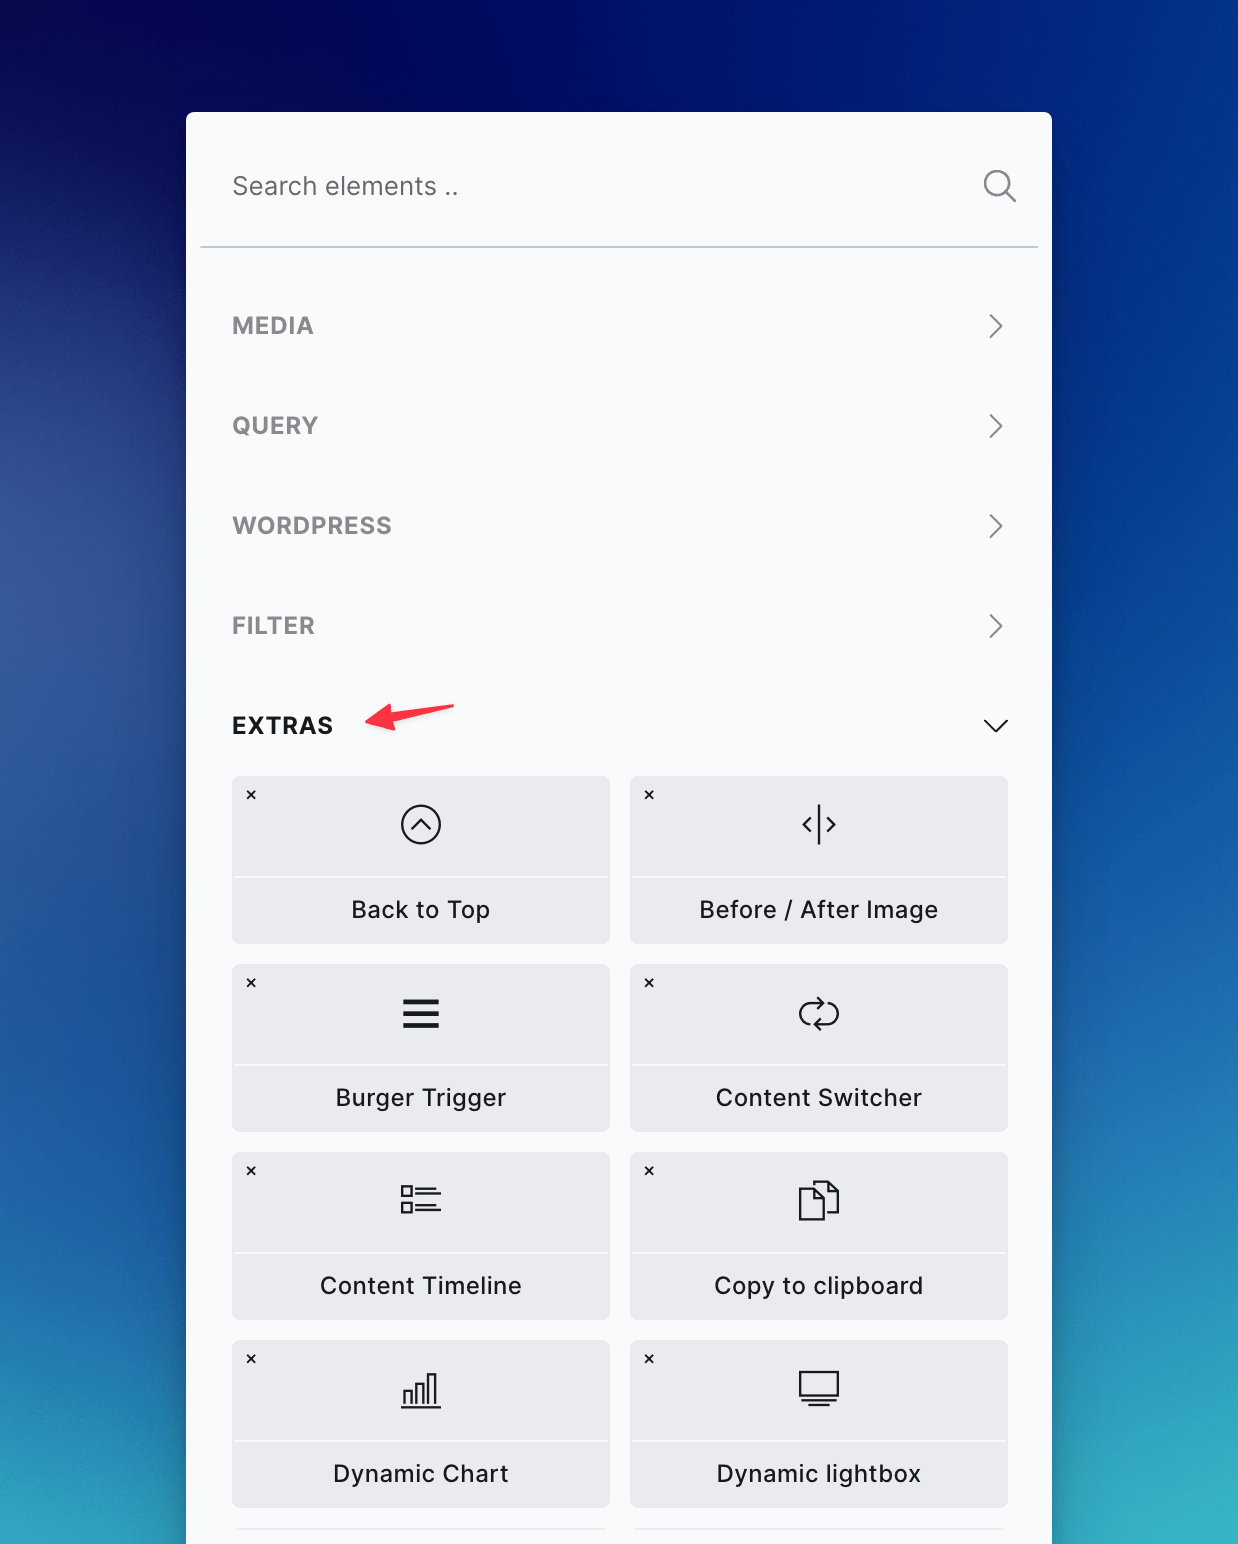
(They’re all marked with a little X in the corner to distinguish between native or other 3rd party elements whilest searching through the elements.)
Conditions
For the element conditions associated with BricksExtras, these will appear under the heading ‘Extras’.

Interactions
Interaction triggers for each element are found inside the interaction trigger dropdown (marked with an ‘Extras’ in brackets)
