Content Timeline
This element is nestable, allowing for any Bricks elements to be added inside.
This element can be used inside query loops.
This element supports being used inside AJAX filtered content, either by Bricks’ native filter elements, WPGridbuilder, JetSmartFilters or PiotnetGrid
This element support being used inside both components & nested components.
- General
- Support FAQ
- Tips
Build vertical content timelines with scroll animations or horizontal timelines that integrate seamlessly with our Pro Slider. Supports dynamically creating new timeline items with Query Loop and is fully nestable so everything can be customised.
Overview
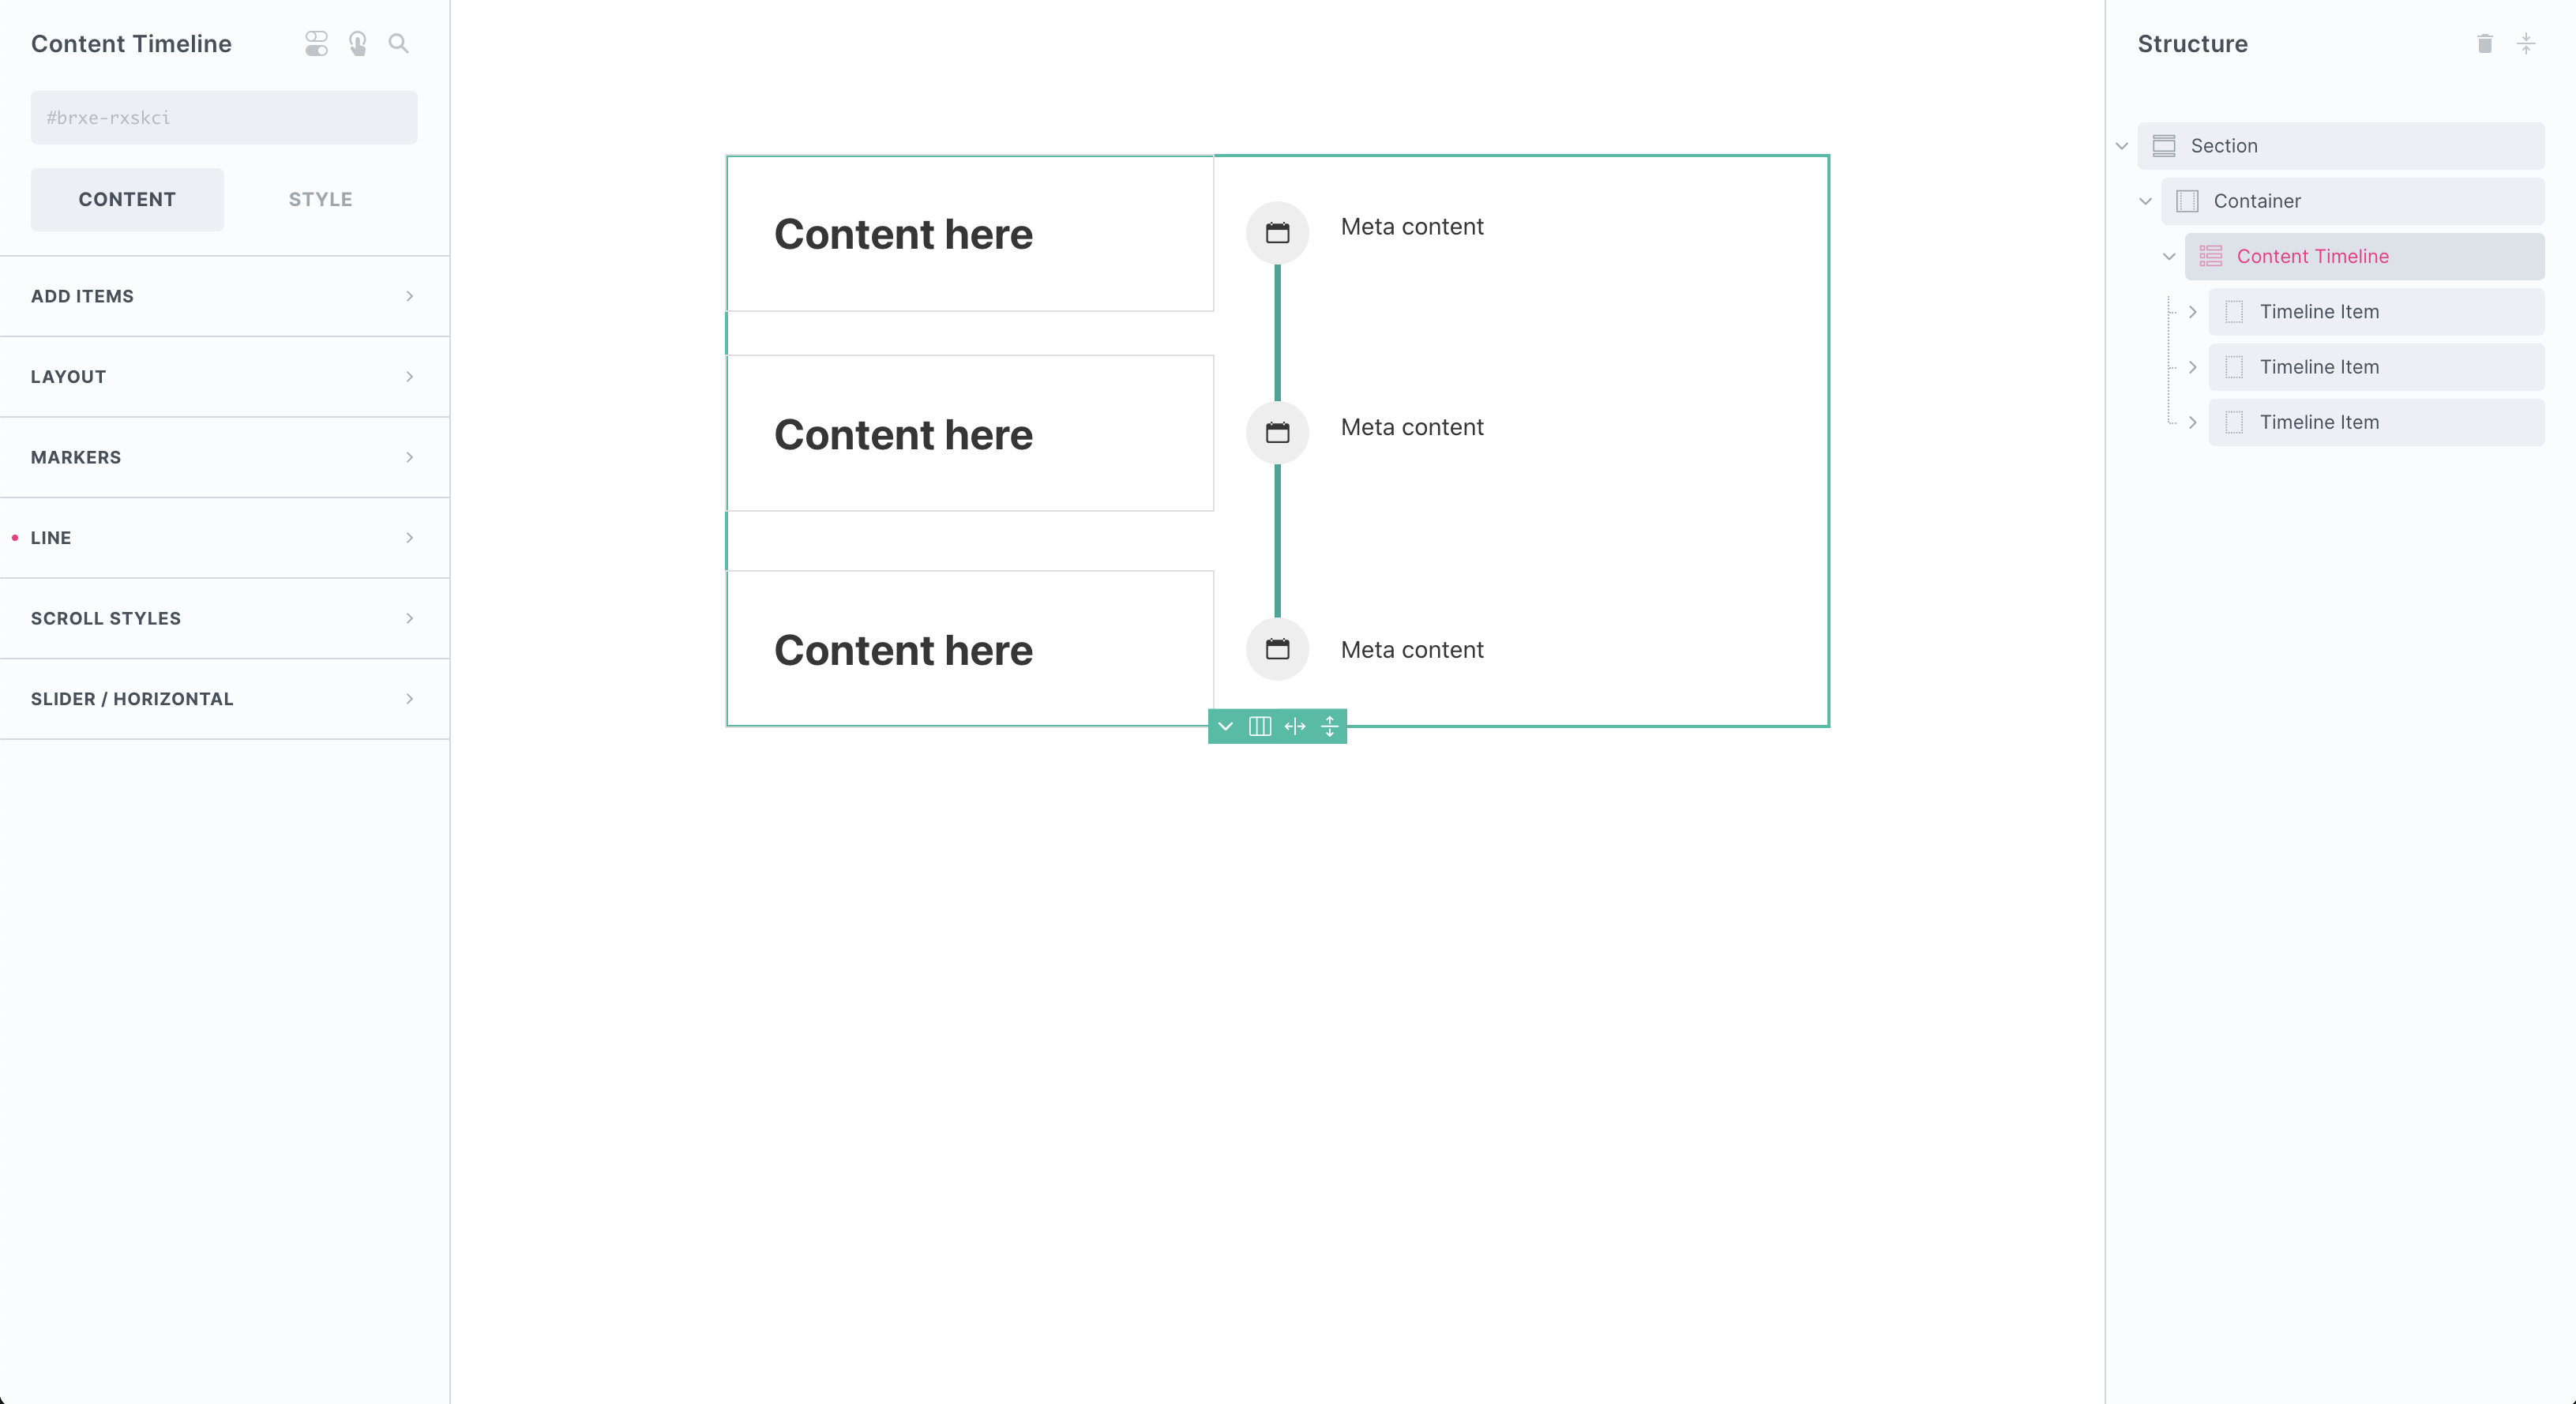
There are two ways to use the content timeline element, either for creating vertical layouts or using with the Pro Slider, which is how to create horizontal layouts. How to set these up is very different. The content timeline element consists of one timeline item, and so these need to be repeated to create the structure.
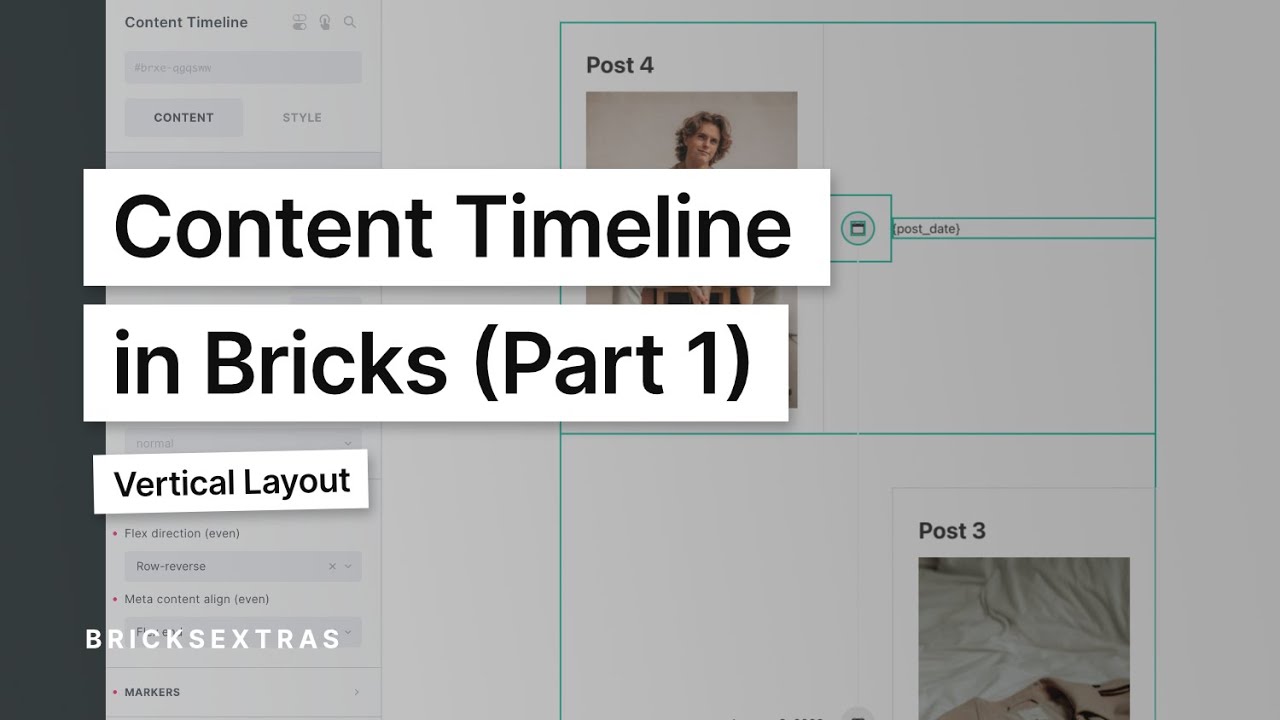
Vertical Layouts
The important thing about a vertical layout is that it’s the timeline item element that would be repeating to create each item inside the timeline. These can be added manually by going to ‘add item’ or if using query loops add the query loop to the ‘timeline item’ element, to duplicate it.
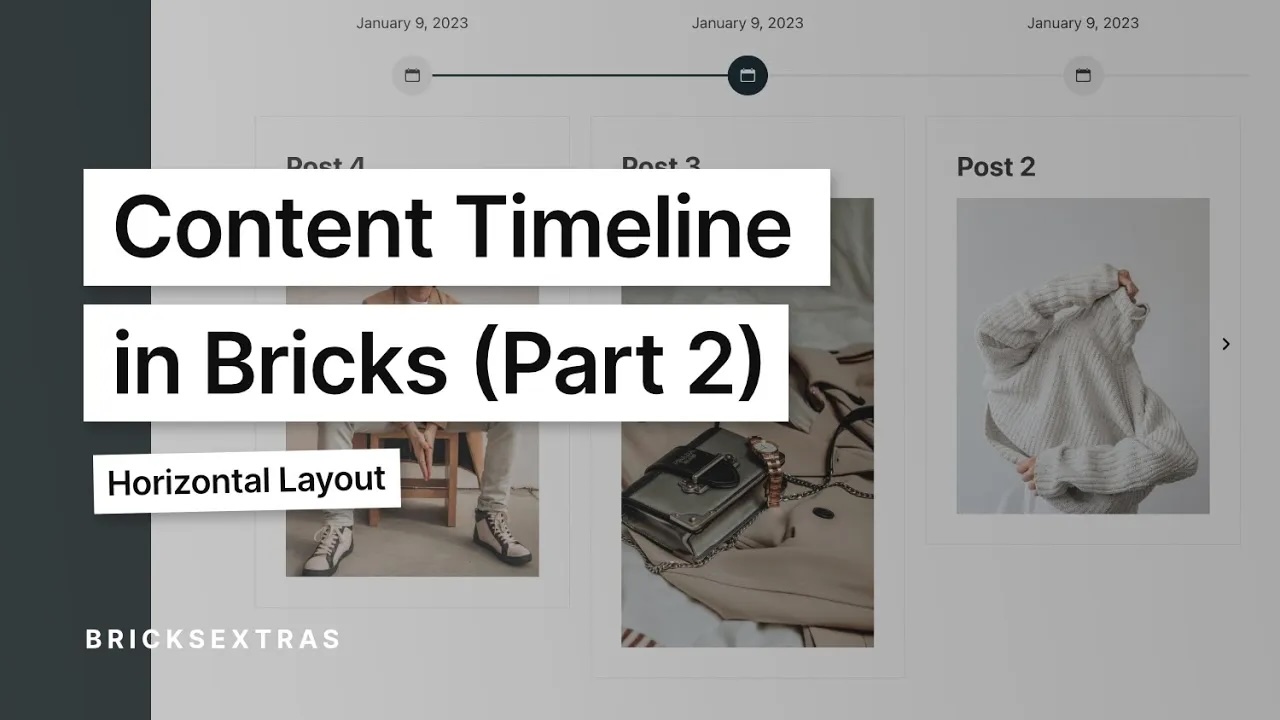
Horizontal Layouts
Horizontal layouts require a slider, to handle navigating horizontally across the timeline. The important thing about this type of layout, is that it’s the slides that would be repeated to create new timeline items, with each content timeline inside a slide. If using query loops, apply the query loop to slides.

Controlling the number of items visible and the overall movement can then all be controlled at the slider level.
Marker Alignment (Important)
The number one requirement about either layout, is that the markers are aligned either horizontally or vertically. This is the key to a timeline structure with the timeline being able to run in a straight line through the markers.
Marker Alignment for Vertical
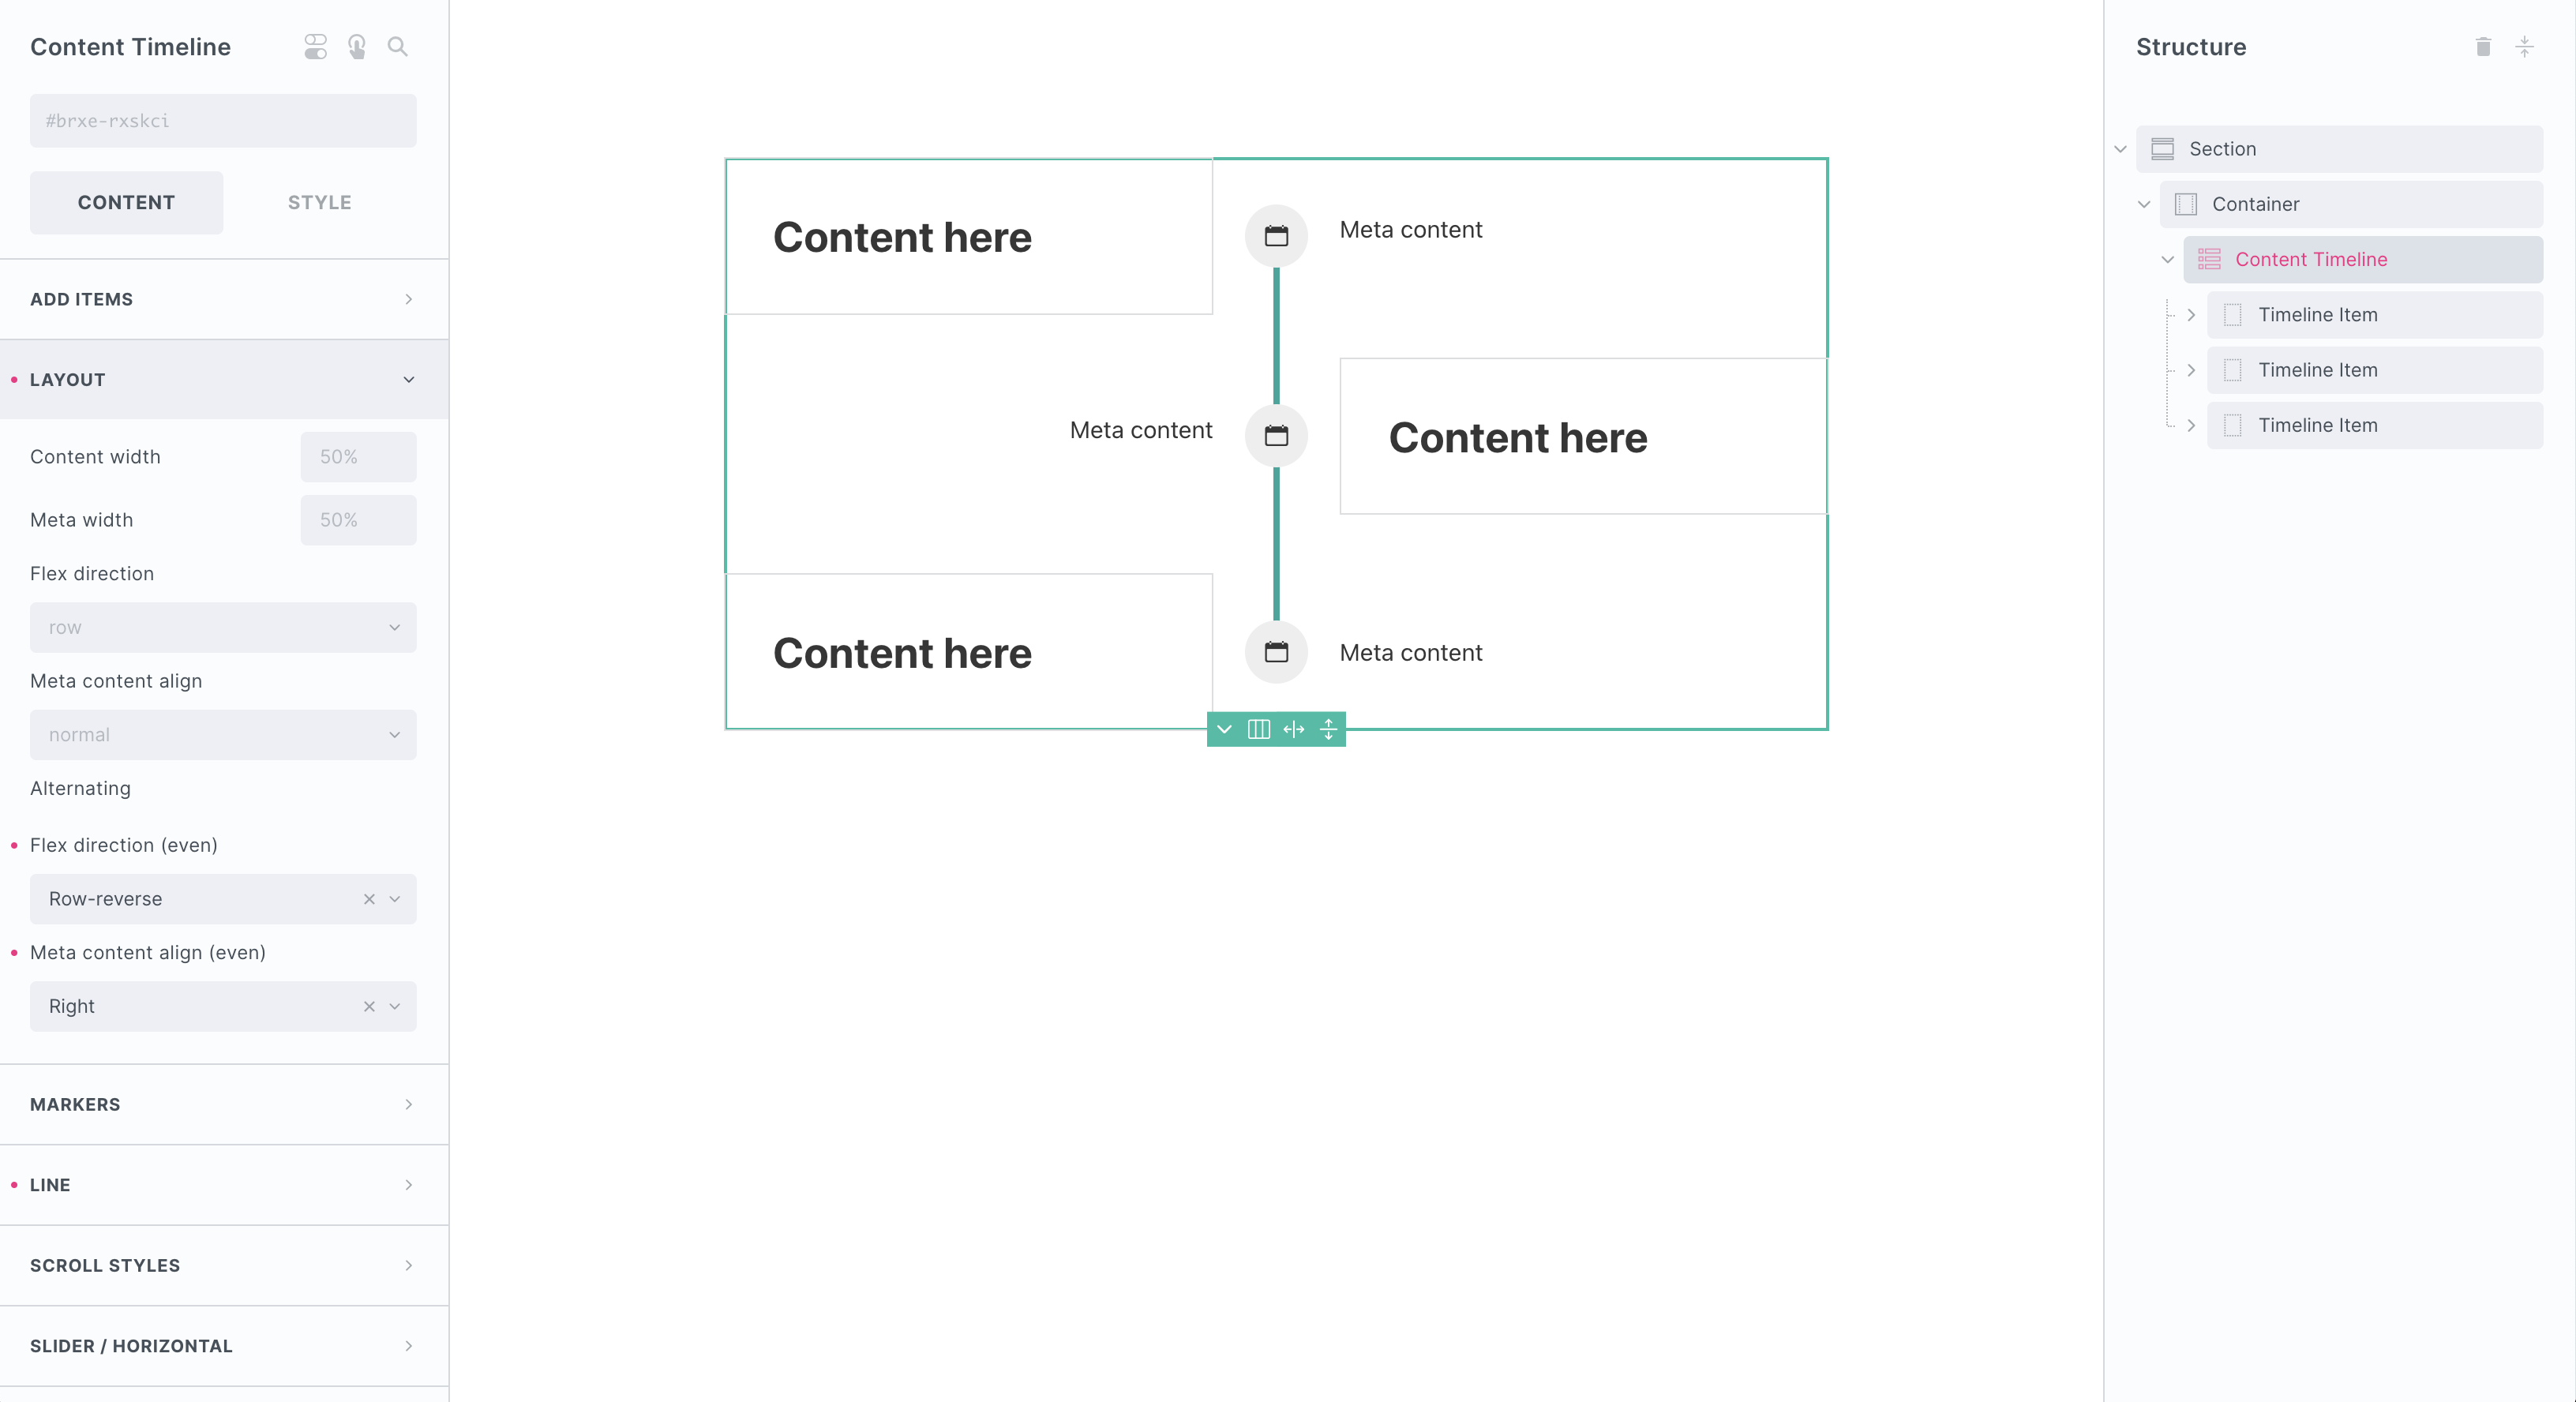
The key to ensuring the markers are correctly aligned for vertical layouts is to keep all the widths the same. We recommend using the layout controls inside the content timeline element. Here you change all the widths of the timeline content, and meta content at the parent level, which ensures they’ll always be the same. (as opposed to adding custom widths to the elements themselves, which is more prone to error)

If creating an alternating layout, with the content switching from left to right, the content width and meta content width should remain at 50% to ensure the actual timeline and markers are always centered (regardless of what is inside the content).
if needing to remove the meta content for mobile (incase you want the content to take up the full space) set the display to none on the meta content structure element at the mobile breakpoint.
Marker Alignment for Horizontal
With horizontal timelines, it’s no longer the widths that controls the alignment, but instead the flex direction of the timeline element and the slide that it’s inside of.
In the horizontal / slider settings you can change the flex layout (either column or column-reverse), which will control whether the meta content is above or below the timeline. You just need to make sure the slides flex layout ensures the markers are inline with each other.
Here are some visual examples of it done incorrectly and then done correctly.
With the meta content at the bottom (flex-direction column)


With the meta content at the top (flex-direction column-reverse)


The difference is in the alignment main axis setting for the slide.
